
Checkpoint 1
For each step in your guide, you’ll add both written instructions and photos demonstrating those instructions. Let's go over photos first; we'll cover guide text in Checkpoint 2.
Preparing and uploading your pictures
Before adding pictures to your guide, you can use Photoshop or other software to lighten them up—however, we have a few guidelines:
Please do NOT use Photoshop to remove photo backgrounds. Your backgrounds don’t have to be perfectly white; a nice uncluttered background is less distracting than one that has been crudely cut out. Even if you really, really know what you’re doing, your time is better spent on other parts of the project.
Please do NOT use Photoshop to add markup to pictures. Instead, use iFixit's built-in markup tool. This way, anyone can change the markup in case a mistake is made, whereas Photoshopped markup is permanently attached to the picture.
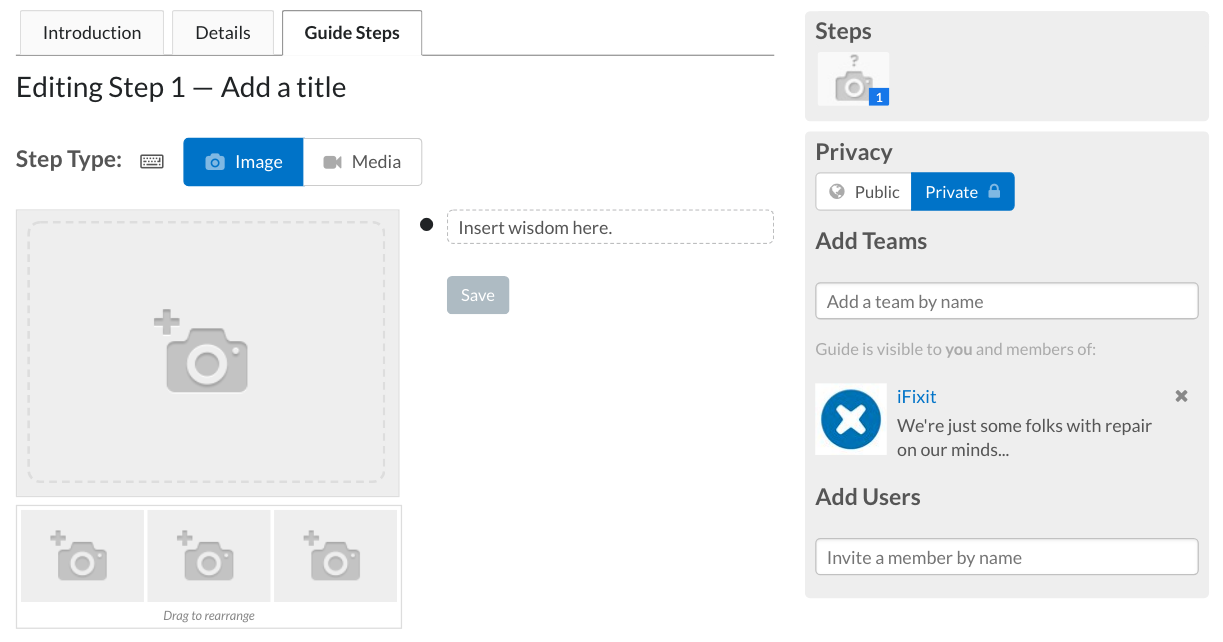
To upload a photo, add/edit a step and click the camera icon. This brings up your personal media manager, where you can manage your existing photos and upload new ones.
Cropping your pictures
You should crop each photo so that it:
Fills the entire available frame, with no wasted space
Puts the action in the center
Is zoomed in close enough to show important details (but not so close that it becomes disorienting)

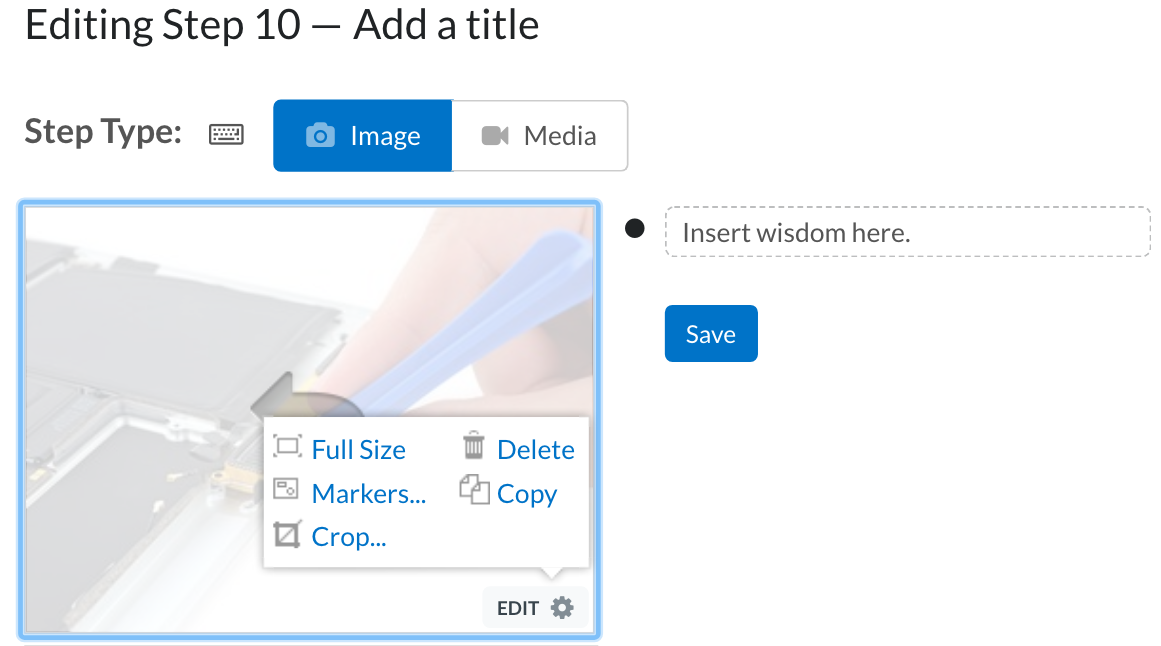
To crop a photo, go to the step editor and click on the gear icon in the bottom right corner of the image. Select “Crop.” In the new window that opens, click and drag the corners of the selection box to frame your photo. Once you have your photo in position, click Save.
Arrrrrrr you ready to move on?
Better take one more peek with your good eye. Review all the requirements so that your grade doesn’t end up walking the plank and sleeping with the fishes. Send us your sample photos by uploading them into your guide and emailing a link to techwriting[at]ifixit[dot]com.
